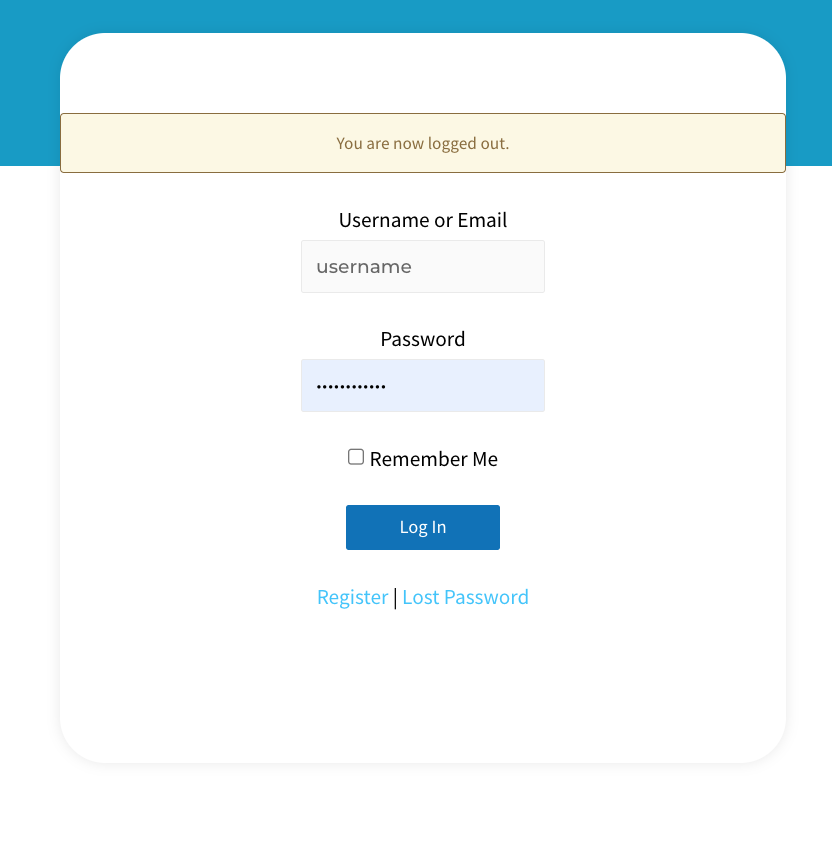
Logging in
To start a session you will need to login using your username and password which should have been provided to you by now. To reset your password click on “Lost Password” just below the log in button.
Starting a session
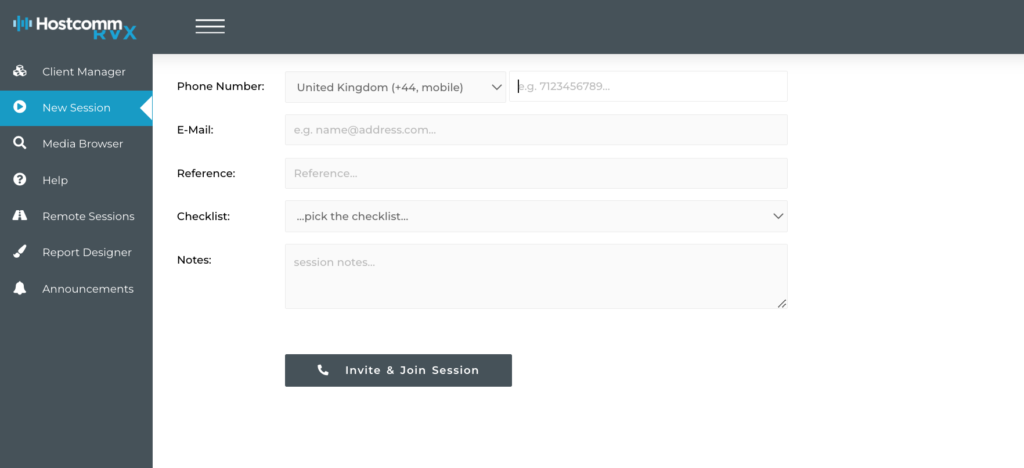
Once logged in you will see the main menu on the left hand side, click on “New session” or you can also click on “Start Session” in the top right hand corner. You will need to enter the following information:
- Mobile phone number with or without a leading zero.
- Optionally enter the email address instead of mobile number
- An optional reference for later searching
- A checklist name if using a Typeform checklist. This needs to be created in the Typeform console and then referenced to display here.
- Optional notes relating to the session.
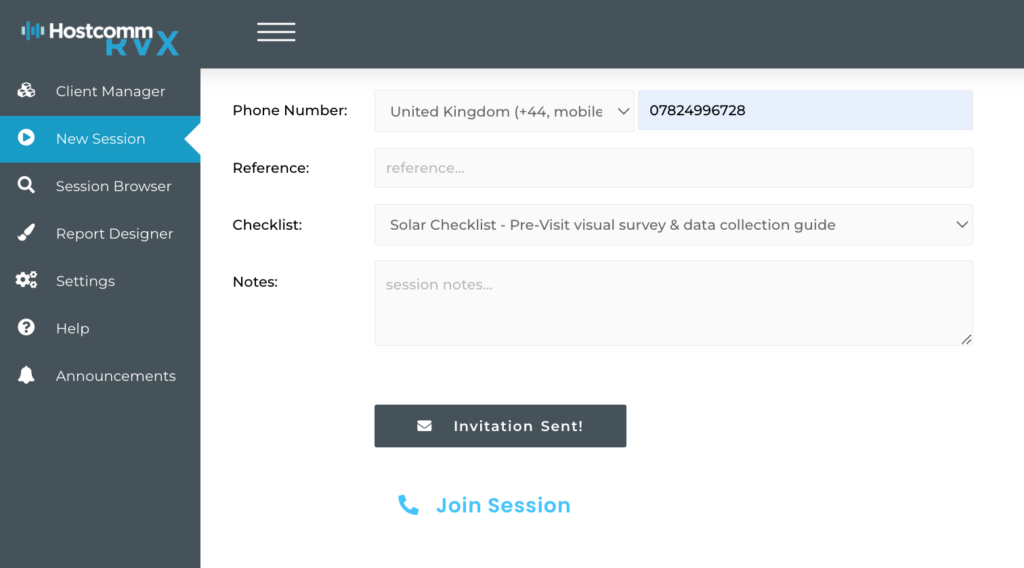
After pressing “invite and join session” you will see a countdown. After the countdown the invite is sent to the remote person and a new tab window is popped with the session join page. If you dont see the popped tab, a blocker may have stopped it. If so please change your settings, you can start the session by clicking “Join Session” in blue as per image to the left.
Joining a session
Once the remote party has clicked the hyperlink sent to them they will have to allow use of their camera and microphone. Then both participants will see the “Join Call” button which they should press.

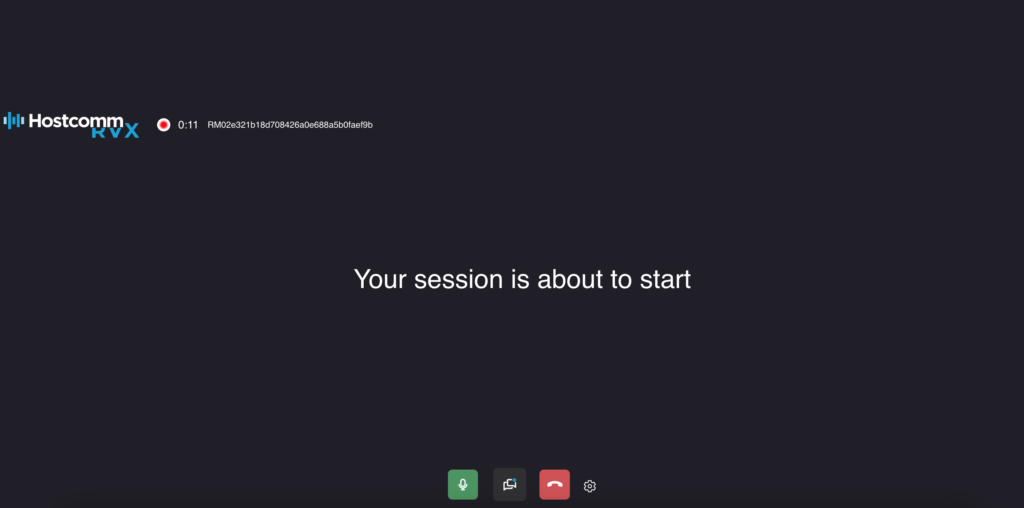
Waiting for the other participant
Each participant will see this screen if they join first. Once the other participant has joined the session will start.
Session controls

Button 1
Audio on / off – this can be set to default on or off
Button 2
Chat – there is an audible alert when a chat is received.
Button 3
Typeform checklist – The checklist is a guide for the host and is created at the typeform console (www.typeform.com) and then displayed to the host by referencing the form ID. RVX technical support can assist with the set up.
Button 4
Notes – a widget opens and text notes can be added. They will be saved as a text file, viewable on the media browser.
Button 5
Pointer – a small circle will appear on both the host and remote screens, this is movable by the host’s mouse or remote’s finger. Pointer is inactive during image capture and annotation modes, it is only usable when live video is streaming.
Button 6
Image capture – pressing this will instruct the remote device to capture an image. You can then save it (button 10), start annotation (button 11) or capture text using OCR (button 12).
Button 7
Remote Torch on/off – Android only. IOS devices require an RVX app, which is coming soon.
Button 8
Zoom – 1X 2X 3X zoom – Android only. IOS devices require an RVX app, which is coming soon.
Button 9
Image tagging – tag images with a short keyword which can be searched within the media browser.
Button 10
Image save
Button 11
Annotation – pressing this will take you into annotation mode.
Button 12
OCR – optical character recognition, you will first need to capture an image (button 6) then OCR will find text within the image and display it in the OCR capture modal which will automatically appear.
Button 13
Google Maps – this will activate the Google Maps widget, it will then send a request to the remote user for their geographic coordinates. This is done automatically after the remote user has clicked an agreement button.
Button 14
Image gallery – this displays all captured images annotated or not.
Button 15
Google Meet – pressing this will open up a new Google Meeting room
Button 16
2 Way video – creates a 2 way video conference between the host and remote.
Button 17
End session – hangup session.
Button 18
Settings – this has battery meter on/off and host video on/off

